What is a vermicomposting worm bin?
Vermicomposting is also known as gardening or composting with worm bins. I’ve assembled bins before, and I will again. I have to say it’s much more fun to build with others, instead of by yourself.
A long time ago, I made one with my young kids. They were 4, 6, and 8 years old at the time. I shared the vermicomposter that we made with a children’s wildlife class.
Adventures with worms & composting
More recently, I was given a pretty good amount (over a pound) of redworms by a friend (Thank you, Sherry:). I built a worm bin out of a container that I bought at the dollar store with college students.
Because I think vermicomposters are super-helpful and fun, I tend to build them with my classes a couple times a year these days.
The semesters have yielded different levels of enthusiasm: in the first class I taught, the students were extremely excited about the worms. The second class was a little bit more squeamish. The third was a charm: everyone enjoyed themselves. We even followed the celebratory vibe with a party for a support dog’s 10th birthday, complete with party favors. It was well-attended, with about a thousand guests, if you count the worms!
But, why?
There are several good reasons to build your own worm bin/vermicompost container:
- It gives you a place to put your (non-meat or non-dairy!) food scraps, besides just an ordinary compost bucket or pile. The worms will work ALL the time, eating about 30 times their body weight daily. They take what you’re eating and prepare the scraps to become very readily- usable potting soil with high nutrients.
- It’s a great way to have a pet without feeling bad if you go away for a week. They’re quiet. The landlords will never know. And it’s fun to watch what they get excited about. My worms get most excited about eggshells!
- It is free fertilizer, and all-organic. A small bag of it even makes a nice gift, for the right recipient.
- The worms multiply and you could, in time, start your own worm farm. The possibilities are as boundless as the population of the worms, which can multiply rather quickly!
DIY Homestyle Bin
1.Find a 10-gallon (or more) tub or buy one from a local dollar store. Or, you can also use a 5-gallon bucket, which are available for free from many places, such as restaurants or food processing facilities.
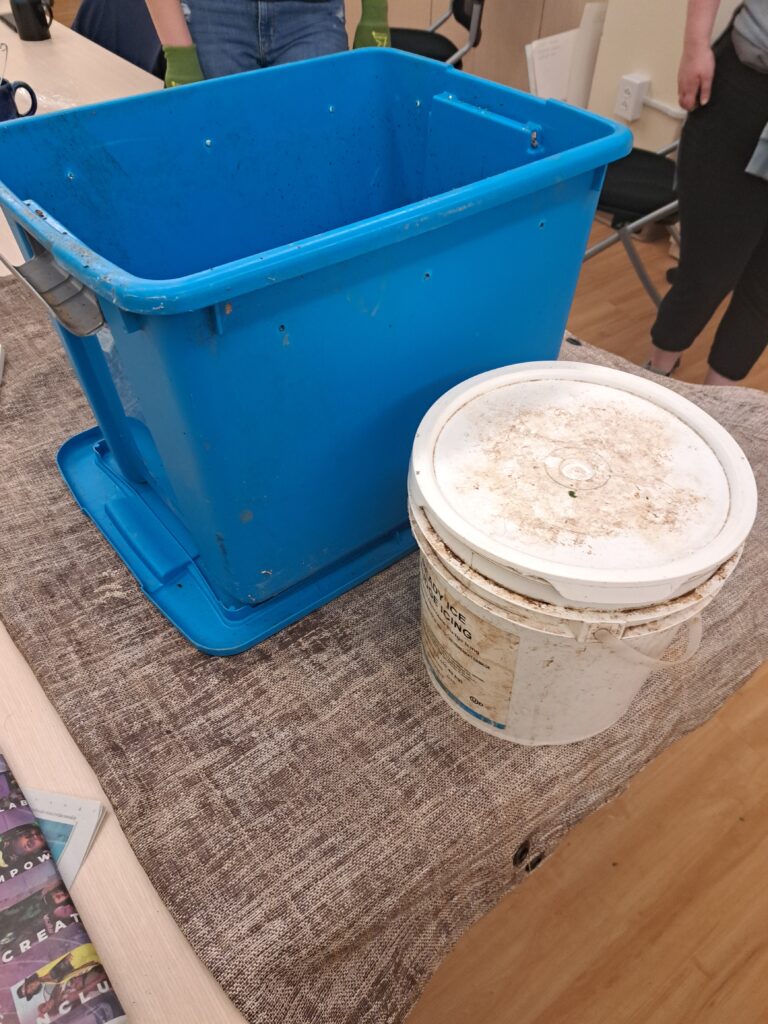
2. Regardless of whether you go with a tub (with easier-to-remove lids) or a bucket (harder lids to remove, which might be good if you have inquisitive pets), at the very top you want to drill very, very small holes. (An 8th of an inch or smaller so that the worms don’t try to escape).These holes will aerate your bin when the lid is on. Drill a hole about every 2-3″ around each side, or all the way around, on a bucket.
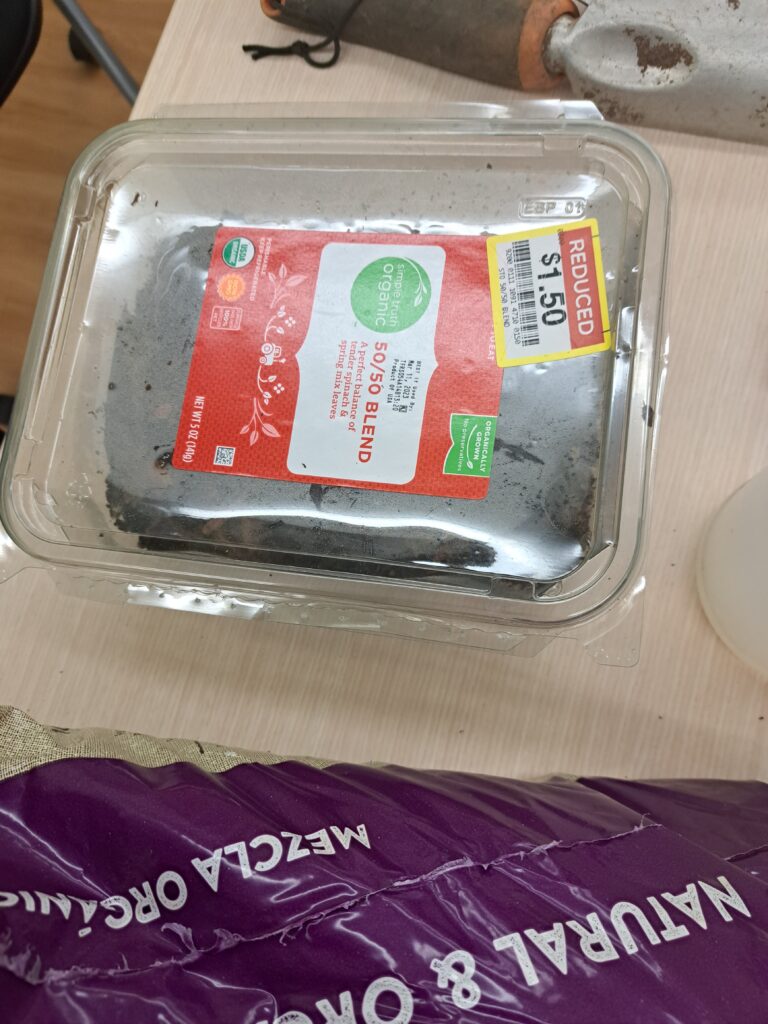
3. Line bottom of the bin with unfinished compost (about 1/4 of the bin), and make sure it’s pretty level. Spray with a water bottle/mister till moist but not sopping wet.
4. Add a layer of potting soil/finished compost/coconut coir. How much depends on how big the bin is. Approximately the first half of bin should be filled, after you add the soil. Spray with water again till moist.
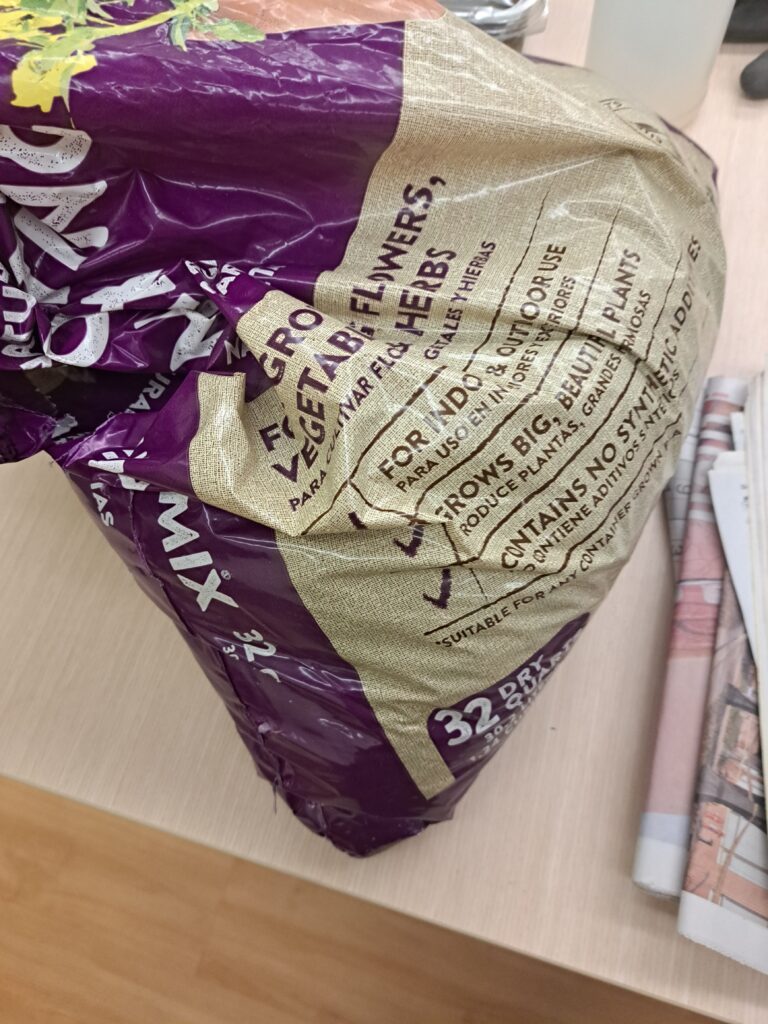
So far, you will have: 1/4 unfinished compost, and 1/4- potting soil or coconut coir. Finished compost also works in place of coir or other soils if have some of that on hand instead.
5. Keep all of this slightly moist, spray each new layer with a mister setting on your garden hose, or spray bottle.
6. Then, dig a hole into this about 2/3 of the way down, and add worms You can add just one, or hundreds.
7. Finally, add shredded news- or craft paper, or even flattened paper bags across the top and spray again (not sopping wet, or the worms will drown).
8. Continue to feed them the same things you would compost: eggshells, fruit or vegetable peels (citrus is not advised due to its acidity). Add a couple dinners’ worth of scraps once a week or every two weeks; make sure moisture level is how ideal garden soil should be: moist. Not overly wet OR dry.
Adjusting conditions for a new “home”
You get an idea over time how much food to add and when to mist newspaper. If the bin gets too wet, add more shredded paper. Usually, that is the case with my bins, due to the ‘juicy” compost I’ve added.
Keep the bin in area out of direct sunlight (worms prefer to be in the dark, underground, remember!) and above freezing temperatures. A basement or dark part of the garage is okay. In the house is fine, too, as long as cats, kids or dogs aren’t too curious.
Do not feed your worms meat, dairy, kitty litter, or any inorganic material ; feed them things you normally would put in a regular compost pile. Things like pine straw, leafy greens, and banana peels are great.
Once you’ve got worms…
Before you know it, you’ll want to divide the bin population (2-6 months, depending on what you feed them and initial amount of worms), give away worms, and harvest castings (aka “poop”) to pot up or fertilize houseplants and outdoor perennials and flowers.
Redworms are not indigenous to the United Sates. Therefore, keep worms in the bin and harvest the soil. Or, use them in potted containers where they are likely to stay.
Worms are fascinating, helpful creatures; they make gardening fun and entertaining!
Happy vermicomposting!!!
https://shorturl.fm/EnI3u
https://shorturl.fm/QhAk8
https://shorturl.fm/Uekg8